Preparing Your Workspace and Yourself
Before you begin the process of removing or installing any computer component, it is crucial to establish a safe and organized environment. Start by ensuring your computer is completely powered off and disconnected from its power source. Unplug the power cable from the wall outlet and from the back of the PC. It is also advisable to disconnect all peripherals, such as monitors, keyboards, and mice. Clear a spacious, well-lit area for your work, free from clutter and potential static electricity hazards, such as carpeting. Static discharge can be a silent killer of sensitive electronic components. To mitigate this risk, you should ground yourself. The simplest method is to touch a grounded metal object, like the unpainted metal part of your computer case, before touching any internal components. For more consistent protection, consider using an anti-static wrist strap, which connects you to the computer's chassis.
General Principles for Component Handling
When handling any computer part, always do so with care and gentleness. Avoid touching the gold-plated connectors or the delicate circuitry on the components themselves. Hold components by their edges or frames. Never force a component into its slot; if it doesn't fit easily, double-check that it is oriented correctly and that the slot is clear. Familiarize yourself with the specific orientation required for each component before attempting installation. Referring to your motherboard manual or component documentation can prevent mistakes.
Removing and Installing RAM Modules
Memory modules, or RAM, are generally straightforward to install and remove. Locate the RAM slots on your motherboard. There are usually clips at either end of each slot. To remove RAM, gently push these clips outward. The module should then pop up slightly, allowing you to lift it out. To install RAM, align the notch on the bottom edge of the module with the corresponding key in the RAM slot. Once aligned, press down firmly and evenly on both ends of the module until the clips on the sides snap into place, securing the RAM. Ensure the module is fully seated.
Graphics Card (GPU) Installation and Removal
Graphics cards typically occupy a PCI Express (PCIe) slot, usually the topmost one closest to the CPU. Before removal, ensure the graphics card is not drawing power by shutting down the PC and unplugging it. You may need to unscrew the card from the computer case's rear expansion slots. Locate the retention clip at the end of the PCIe slot on the motherboard; press this clip to release the card. Once released, gently pull the graphics card straight up and out of the slot. For installation, align the card with the PCIe slot, ensuring the gold connectors line up. Press down firmly and evenly until the card is fully seated and the retention clip clicks into place. Re-secure the card to the case with screws.
Storage Drives (SSD/HDD)
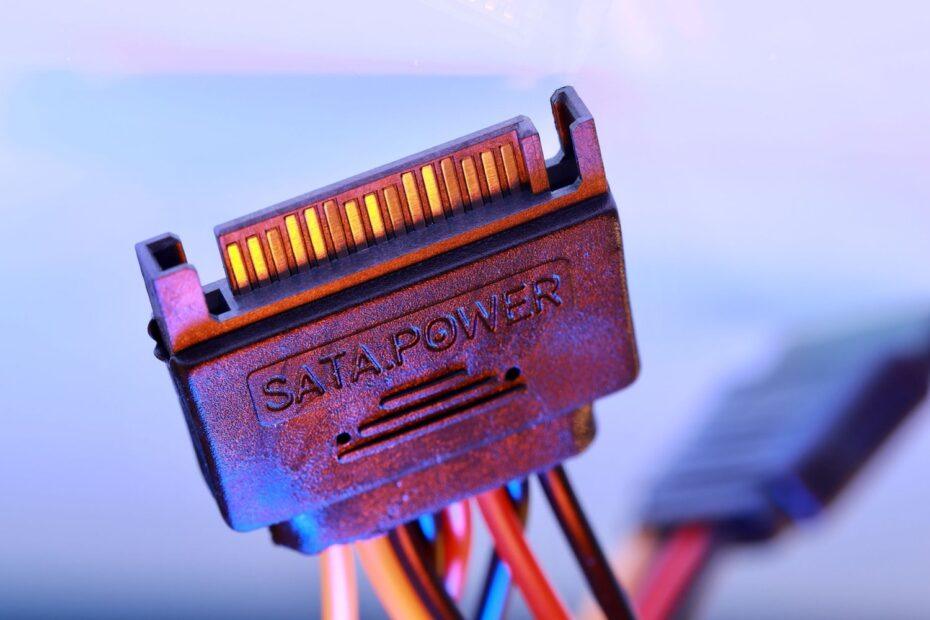
Installing or removing storage drives, such as Solid State Drives (SSDs) or Hard Disk Drives (HDDs), involves securing them in drive bays and connecting data and power cables. Most modern systems use 2.5-inch SSDs or 3.5-inch HDDs, which are typically mounted in specific bays within the computer case. Unscrew any retaining screws, then gently slide the drive out. Disconnect the SATA data cable and the SATA power cable. For installation, reverse the process: slide the new drive into its bay, secure it with screws, and reconnect the data and power cables. Ensure the SATA data cable is connected to the appropriate port on the motherboard and the SATA power cable comes from your power supply unit.
Central Processing Unit (CPU) Handling
The CPU is one of the most sensitive components. CPUs are installed in a specific socket on the motherboard, which has a lever mechanism. To remove a CPU, lift the retention lever on the socket. This will release the metal retention arm, allowing you to carefully lift the CPU straight up. Be extremely cautious not to touch the pins on the underside of the CPU (for PGA sockets) or the corresponding pins/contacts within the socket itself. For installation, align the CPU with the socket using the triangle or notch indicator on the CPU and the socket. Place the CPU gently into the socket; it should drop in without force. Lower the retention arm and secure the lever. If your CPU requires a cooler, ensure thermal paste is applied correctly before installing the cooler.
Cooling Solutions and Fans
CPU coolers and case fans are essential for maintaining optimal operating temperatures. Most CPU coolers attach to the motherboard via a mounting bracket. Removal involves unscrewing the cooler from this bracket or releasing clips. Be aware that removing a CPU cooler may require reapplication of thermal paste upon reinstallation. Case fans are usually secured with screws to the case. Disconnect their power cables from the motherboard or PSU, then unscrew them for removal. Installation is the reverse process, ensuring fans are oriented to push or pull air as intended for your system's airflow.
Final Checks and Power-Up
After all components have been installed or removed, perform a final visual inspection. Ensure all cables are securely connected, no tools or screws are left inside the case, and components are properly seated. Reconnect the power cable and peripherals. Power on your computer. If the system boots successfully and recognizes the new hardware, your task is complete. If issues arise, such as the system not booting or components not being detected, power down the computer, disconnect it, and re-check all connections and installations, referring back to the specific steps for each component.
Related reading
- Building a Budget-Friendly PC: Smart Component Choices for Maximum Value
- Choosing the Perfect PC Case: Balancing Aesthetics, Airflow, and Component Fit