The graphics card, often referred to as the GPU, is a critical component for any computer, especially for tasks involving visual rendering such as gaming, video editing, or 3D design. While modern graphics cards are designed for robust performance, their potential can only be fully realized when they are properly installed and seated within the system. An incorrectly seated card can lead to performance issues, instability, or even prevent the system from booting altogether. This guide provides a clear, practical approach to ensure your graphics card is installed correctly for optimal function.
Preparation and Safety First
Before beginning the physical installation, thorough preparation is paramount. Begin by completely shutting down your computer. Disconnect the power cable from the wall outlet and press the power button a few times to discharge any residual electricity from the system's components. To further mitigate the risk of electrostatic discharge (ESD), which can damage sensitive electronics, it is advisable to ground yourself. You can do this by touching a metal part of your computer case before handling any internal components. Ensure you have the necessary tools, typically a Phillips head screwdriver, and a well-lit workspace. If you are replacing an existing graphics card, carefully note how it is connected and secured before proceeding with its removal.
Locating the Correct Slot
The graphics card connects to the motherboard via a PCI Express (PCIe) slot. Most motherboards feature multiple PCIe slots, but for a graphics card, you should always use the primary, full-length PCIe x16 slot. This slot is typically the one closest to the CPU socket and is often reinforced or colored differently to signify its importance. Consult your motherboard's manual if you are unsure which slot is the primary PCIe x16 slot. Using a different slot may result in significantly reduced performance or incompatibility.
Physical Installation of the Graphics Card
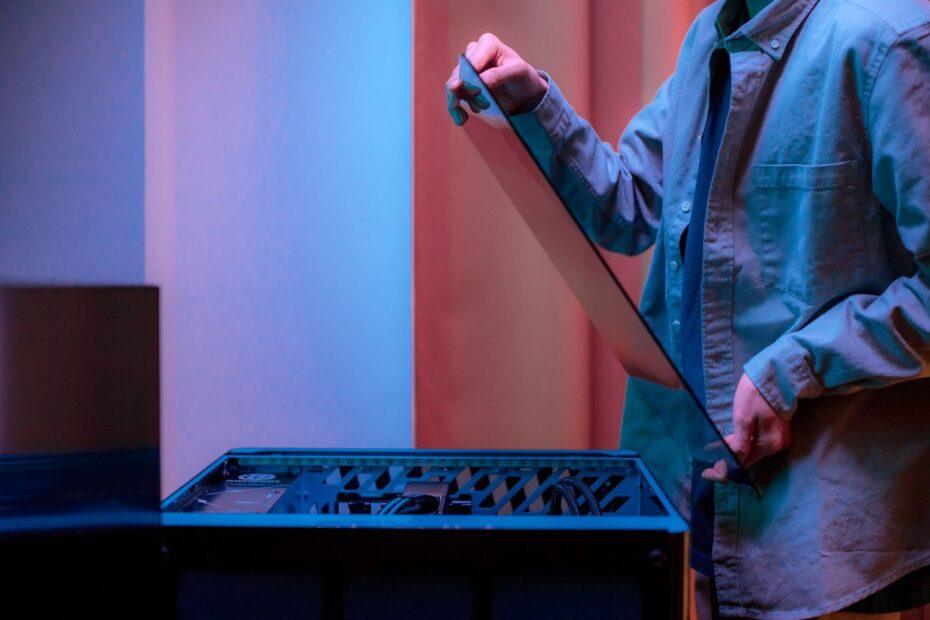
Once the correct slot is identified, you will need to prepare the computer case. If you are installing a new card or replacing an old one, you must remove the corresponding expansion slot covers from the rear of the case. These are usually held in place by screws or a retention clip. The number of covers to remove depends on the size and thickness of your graphics card, which can range from a single slot to three or more. Carefully align the graphics card's PCIe connector with the slot on the motherboard. Apply firm, even pressure downwards on both ends of the card until it is fully seated. You should feel or hear a distinct click as the retention clip on the PCIe slot engages, securing the card. Ensure the card is level and not at an angle. Once seated, secure the card's bracket to the computer case using the screws you removed earlier or provided with the card. This physical stability is crucial for maintaining a solid connection.
Connecting Power Cables
Most modern graphics cards require additional power directly from the power supply unit (PSU) beyond what the PCIe slot provides. Look for power connectors on the top or side edge of the graphics card. These are typically 6-pin, 8-pin, or the newer 12-pin PCIe power connectors. Your PSU will have corresponding cables. Connect the appropriate PCIe power cables firmly into the graphics card's power port(s) until they click into place. Ensure you are using the correct cables from your PSU and not mixing them with other connector types. Insufficient or incorrect power delivery is a common cause of performance issues or system instability.
Reassembly and Initial Boot-up
With the graphics card physically installed and powered, it's time to close the computer case. Reinstall any side panels you removed and secure them. Reconnect the power cable to the wall outlet and connect your monitor cable to one of the outputs on the new graphics card (not the motherboard's integrated graphics ports, if present). Power on your computer. If everything is connected correctly, the system should boot into your operating system. You may see a low-resolution display initially, which is normal as the correct drivers have not yet been installed.
Installing Graphics Card Drivers
The final and arguably most critical step for performance is installing the correct drivers for your graphics card. These software components allow your operating system to communicate effectively with the GPU. Visit the website of your graphics card manufacturer (e.g., NVIDIA or AMD) and navigate to their support or drivers section. Download the latest drivers specifically for your graphics card model and operating system. Run the installer and follow the on-screen prompts. A restart of your computer is usually required after driver installation to apply all changes. Once rebooted, your display resolution should be correct, and the card should operate at its intended performance level.
Verification and Testing
After drivers are installed and the system has restarted, it's wise to verify the installation. Check your system's device manager to ensure the graphics card is recognized without any errors. You can also use GPU monitoring software to check temperatures and clock speeds under load. Running a benchmark or a demanding game will confirm that the card is performing as expected and that the installation has been successful, maximizing your system's visual capabilities.